Course builder
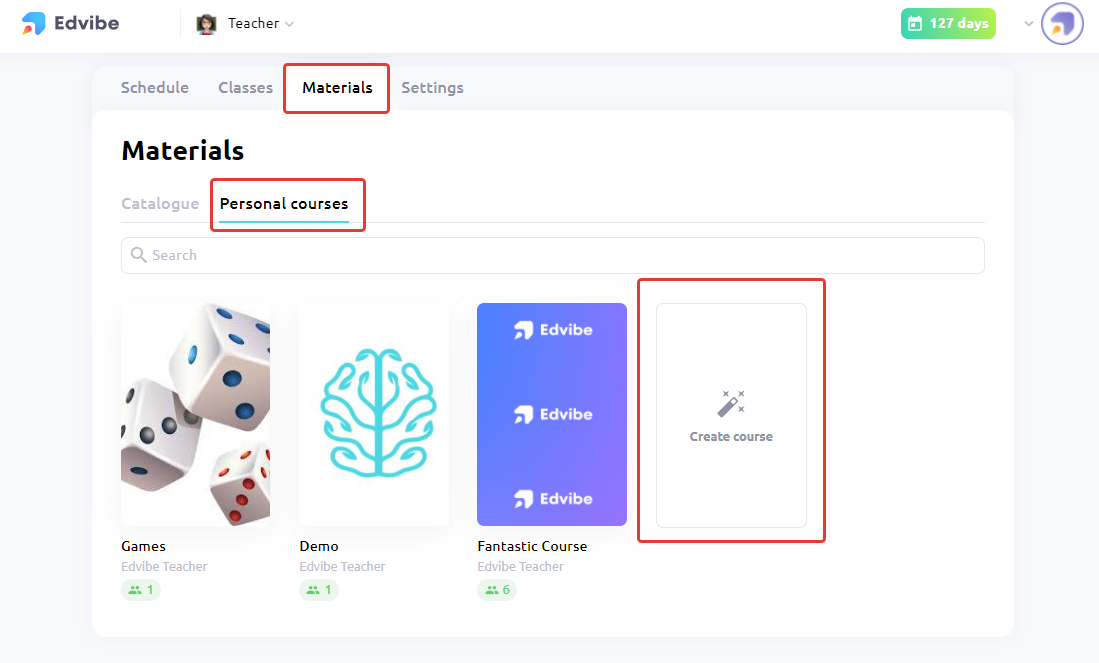
Create a new course in Personal Courses.
Activate the Sections toggle if you want your lessons to be grouped into sections.
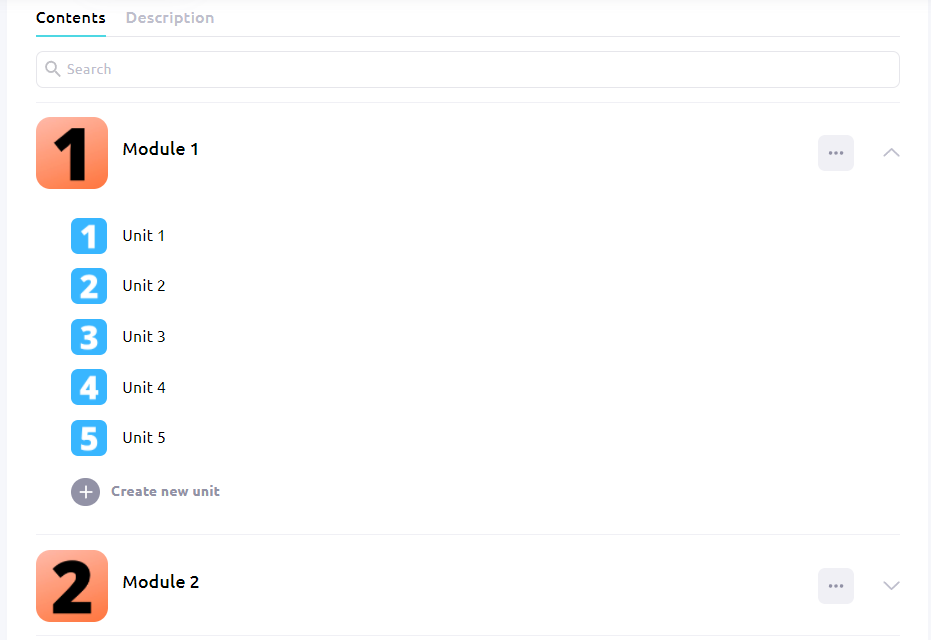
Here’s what your course will look like if the Sections are activated
And here’s what it will look like if the toggle is disabled

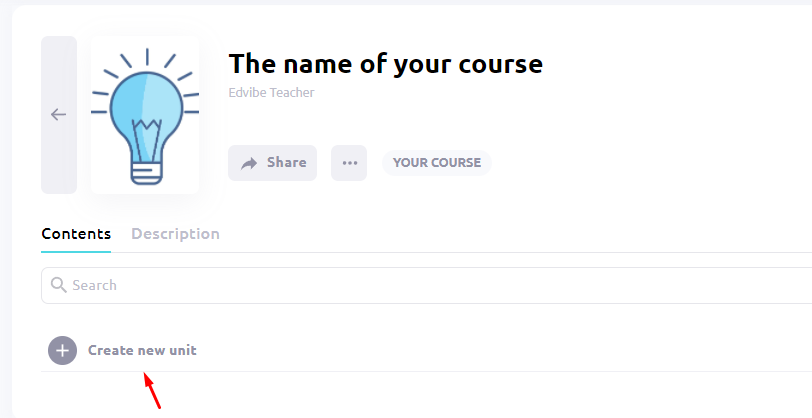
Then, create a lesson.
Now you can start adding interactive exercises to your lesson.
The exercises you add will appear in the center, and you may add new sections (in case you need to break your lesson into several parts) on the right side.

Once you click Add a new exercise, you’ll see a list of templates. Currently, there are 25 different templates and by combining them, you will be able to create interactive lessons to meet your goals.
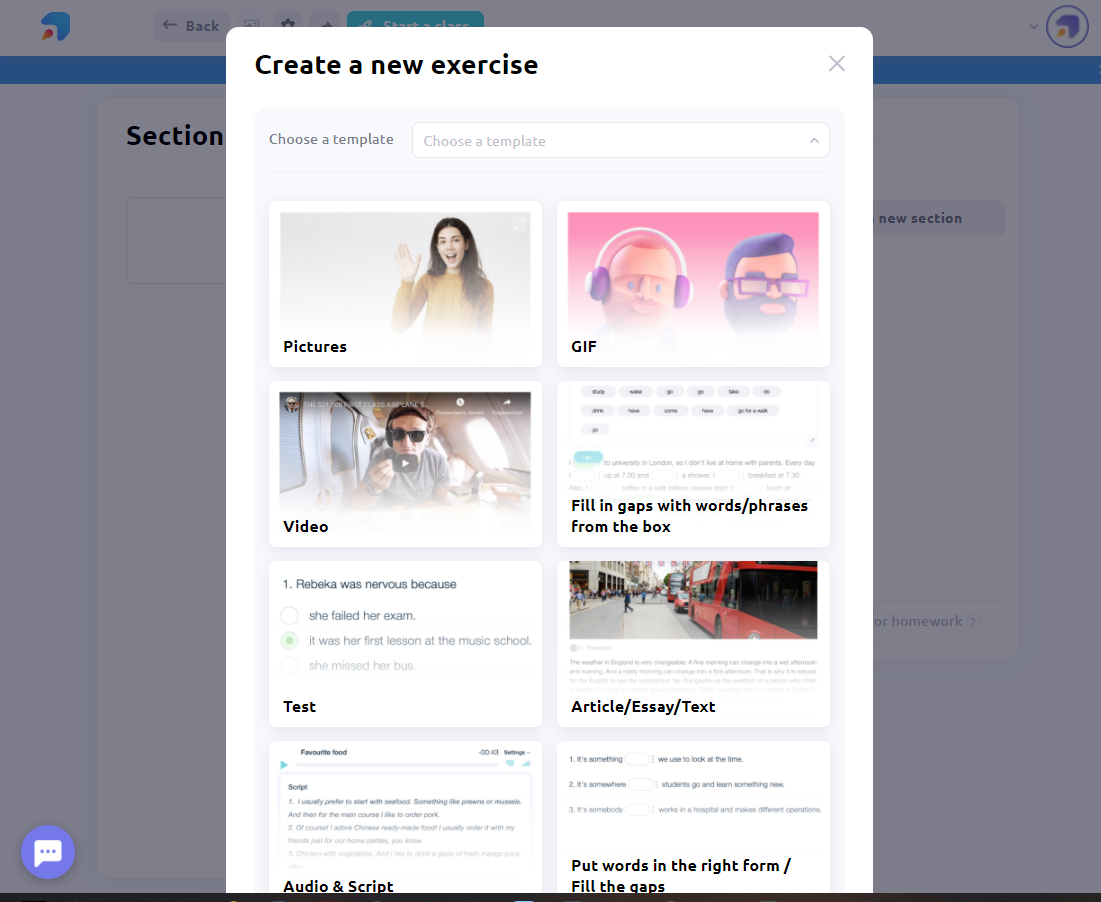
Choose the template you need and fill in the required fields and/or upload files if necessary. There are hints for each template that explain how to use them. Read the article on templates to get more detailed information.
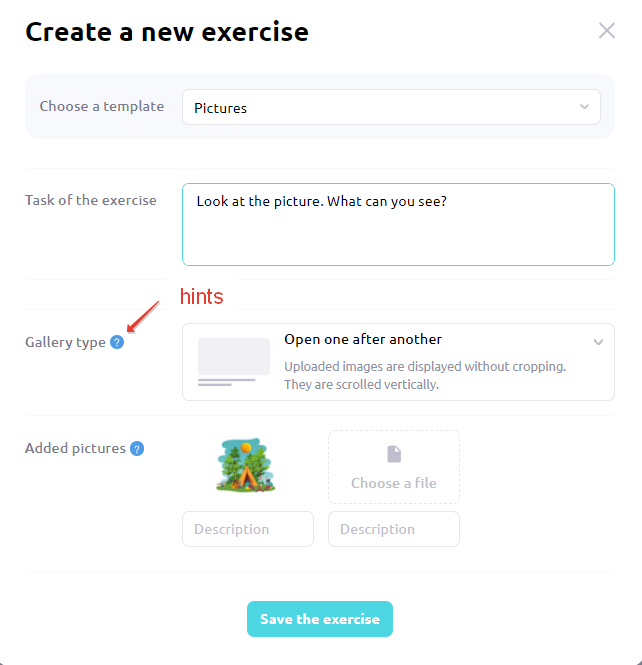
Click Save the exercise to see what it will look like to your students.

Click Add a new exercise and repeat the process until you’ve added all the exercises for this lesson.
In one lesson you can use each template an unlimited number of times.
You can divide the lesson into sections with custom names and create exercises in different sections.

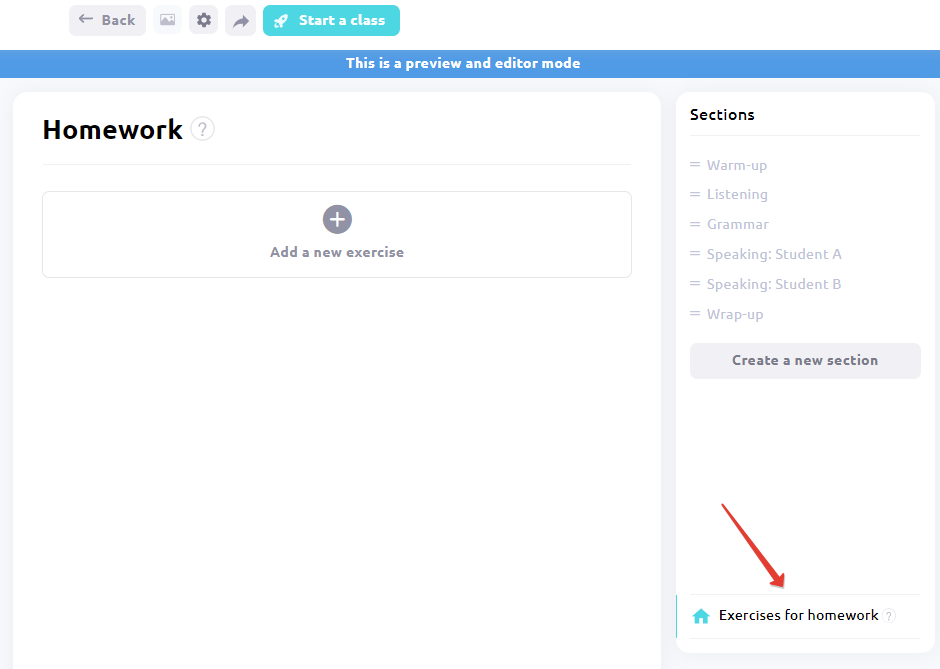
There is a special section for homework exercises. Its content is invisible for students until added as homework. Add the exercises intended as homework there.
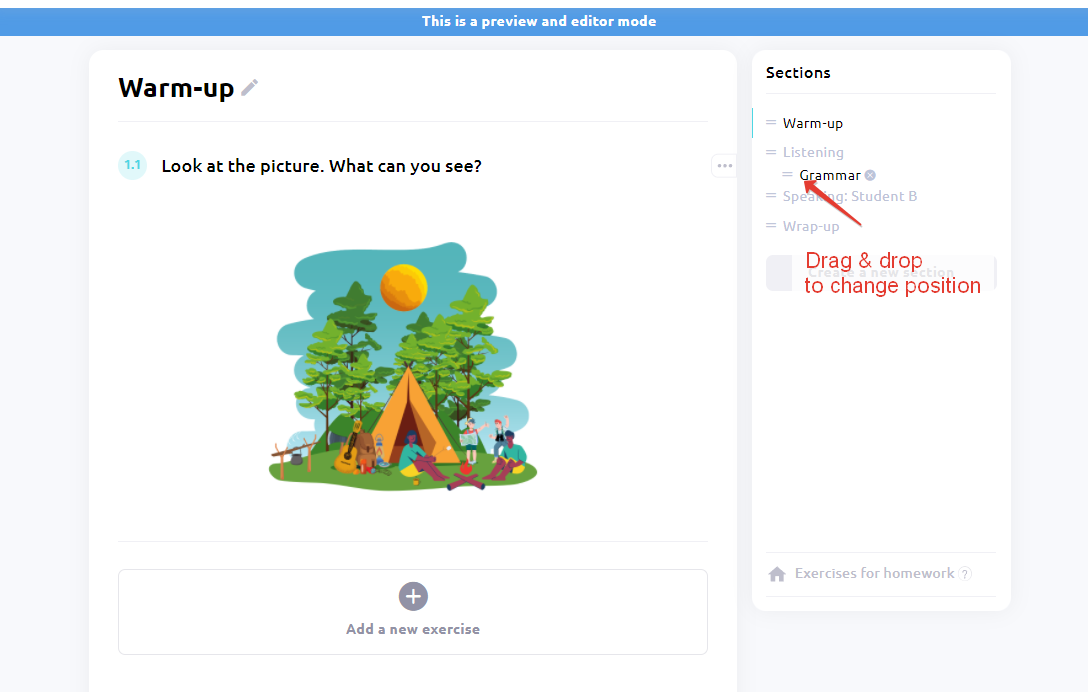
You can change the positions of exercises and sections.
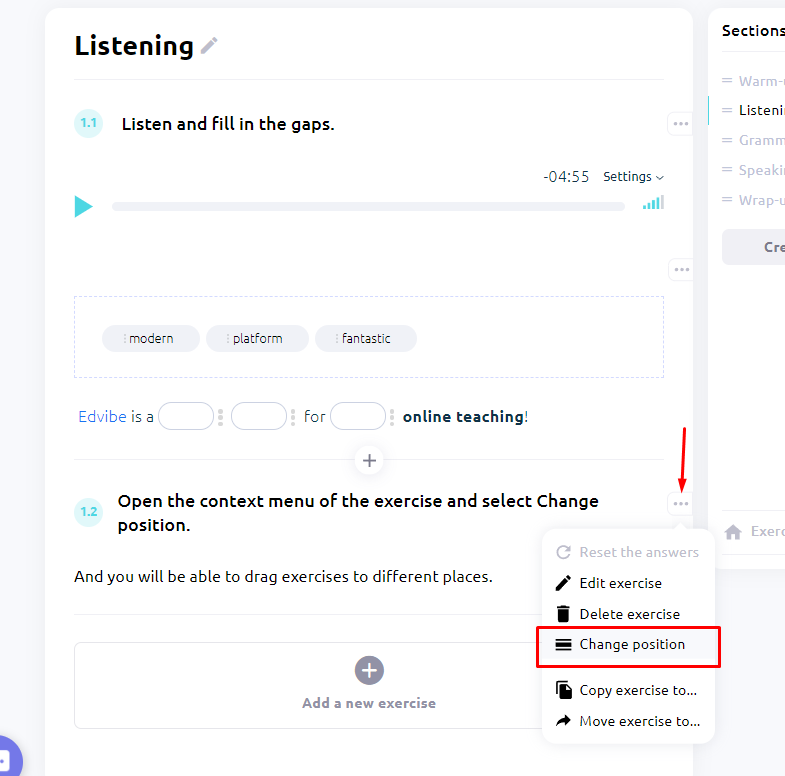
Most of the templates have the text fields for the tasks. Fill them in to give the instructions to your students. Each template with filled task fields gets an individual number (1.1, 1.2, 1.3 etc) and an instruction in bold. For the next set of numbersto appear (2.1, 3.1, etc) insert the dividing line template. If you don’t want to give an instruction to a template, just leave the task field empty - this is useful if you need more than one template for one exercise.

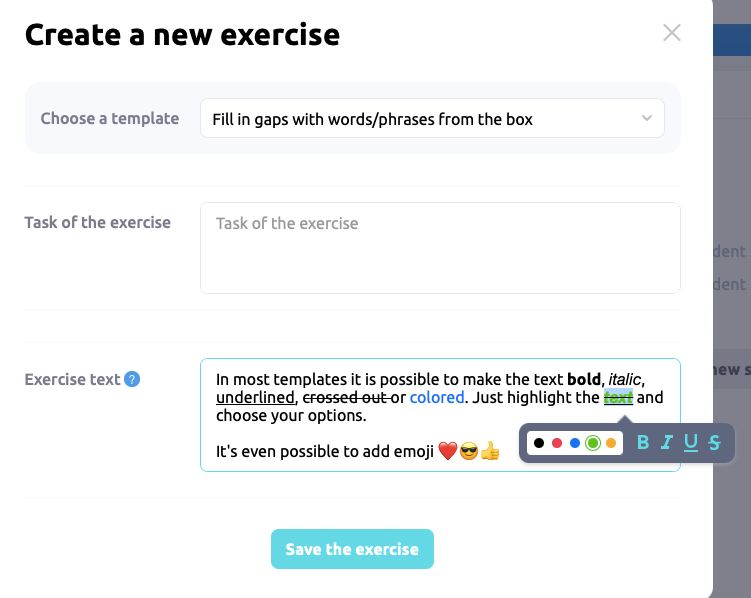
If a template involves working with text, you can apply formatting such as bold, italic, underlined, strike-through and text color. Select the text and apply the necessary format.
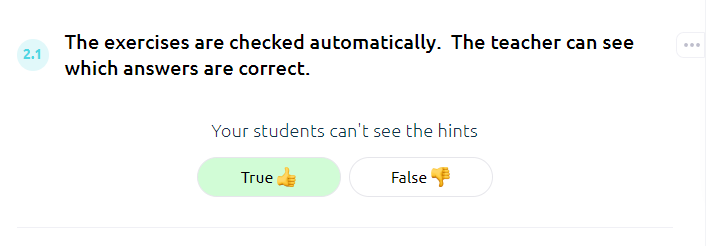
Most templates have a function of autochecking. While in the preview and editor mode, you can test the created exercises. The correct answers are only visible to you. When your students will be doing these exercises in their classrooms, they will not be able to see the answers.
Go to the contextual menu on the right of a template if you want to edit it, reset the answers, delete an exercise, change its position, copy or move it to a different section, lesson or course.

